My Amiga 600 was a car-boot sale find about 10 years ago. In an time when the Playstation 2 was past its peak I managed to buy it for £5. It came with loads of disks, PSU and a couple of joysticks.
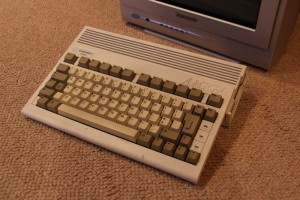
After testing it to confirm it worked I’m ashamed to say that it simply got put back in a box and consigned to my loft for the next decade…
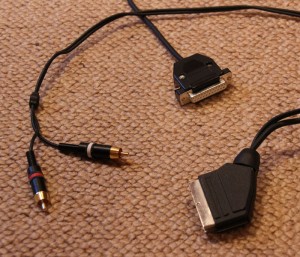
Well, as part of my on-going project to ensure that my old tech is more usable I decided to resurrect it. First things first – did it still work? Fortunately, I not only have an old-but-good Panasonic Quintrix CRT TV, but I also hung onto my Amiga to SCART cable. This is not as trivial as it sounds. Many older games consoles and computers used standard connectors for their various interfaces that are still common today, but the Amiga’s monitor port used a 23 pin ‘D’ connector. These are all-but impossible to find nowadays. It’s possible to buy Amiga monitor cables, but most of them use the common 25 pin ‘D’ with two of the outer pins cut off – it works, but it’s hardly elegant.
I plugged everything in, flipped the power switch, and was greeted with the boot screen.
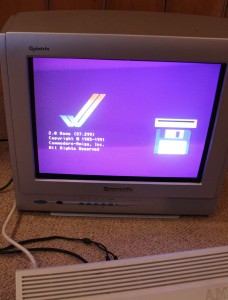
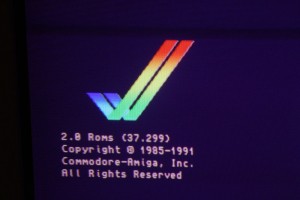
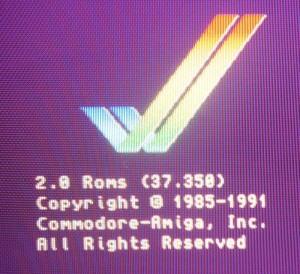
The good news was that it still worked, the bad news was that it only had the 37.299 ROM installed rather than the final 37.350 required for booting from a hard drive above 40MB.
The Amiga still has quite an active community of enthusiasts, so getting hold of a new 37.350 ROM wasn’t a problem. It is also no longer necessary to use an actual hard disk drive, as its possible to use a relatively simple and inexpensive Compact Flash card adapter instead. I purchased the ROM, CF adapter and CF card from amigkit.com. The CF card came pre-loaded with auto-booting software to install the Workbench, etc. on the card.
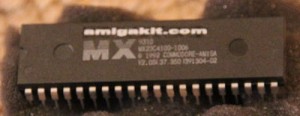
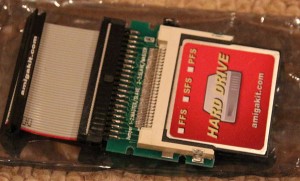
Time to breakout the toolbox to get at the motherboard.
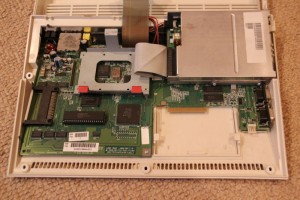
Replacing the Kickstart ROM is fairly straightforward, but there are a couple of gotchas. If you’re not used to dealing with ICs then know that they usually come with their pins splayed-out a bit, but to use them the pins have to point straight down. There are two mains ways of doing this – using a pin straightening tool, or carefully bending the pins against a flat surface (usually a desk) one row at a time. If you’re going to be doing this procedure a lot, then do yourself a favour and get the proper tool. They’re not expensive, get the job done reliably, and are far quicker to use.
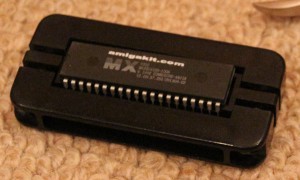
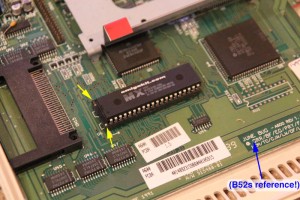
The next gotcha results from a rather bizarre decision made by the designers of the A600 motherboard – while the Kickstart IC has (a very standard) 40 pins, the IC socket on the motherboard has 42 pins (I didn’t even know 42 pin sockets existed!). If, like me, you plug the IC into the socket incorrectly then not only will the Amiga not boot up, but the new Kickstart IC will start to get very hot indeed! I realised what had happened before the IC caused itself or the Amiga irreparable damage. The photo shows the correct orientation and alignment the IC on the motherboard of my A600 – board layouts and specs can change between revisions, however, so if you’re going to do this yourself then the best way of determining the correct way of inserting the new IC is to take careful note of how the original one is oriented/aligned.
Installing the new Kickstart IC (correctly!) yields the following on the boot screen:
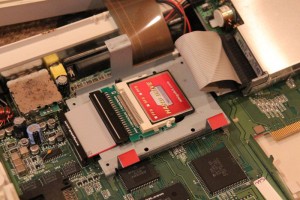
Time to install the CF adapter, which is connected where the hard-drive would’ve been connected. Make sure you push hard enough to make a proper connection – when being extra careful with vintage hardware it’s easy to convince yourself (as I did) that the connector is seated properly (when it needs a bit more of a shove!).
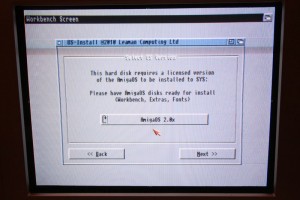
Booting up takes you straight into the Workbench install utility that was pre-installed on the CF card – have your system disks ready and just follow the instructions.
Right, that’s the A600 up and running properly, now whatever happened to my A1200?
Ah yes – that is going to be a bit trickier:
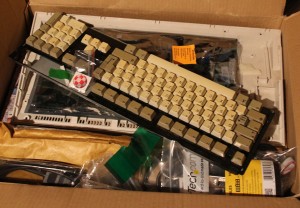
To be continued…

