It was supposed to be a simple fix, something trivial to kick the blog off with. Re-soldering one-or-two dry joints and a bit of clean up, I figured.
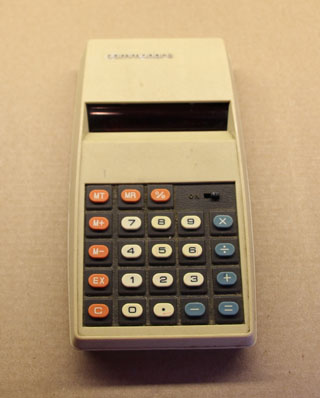
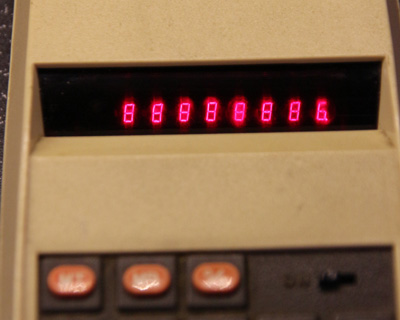
I found my old Commodore calculator in one of the (many) boxes of old tech in my loft. It was given to me as a birthday present by my grandparents in July 1979, and was the first digital device I owned. I was keen to start using it again, but I seemed to recall that it had developed a problem with the display. Sure enough, powering it up revealed that the upper-right segment of the least significant digit was dead.
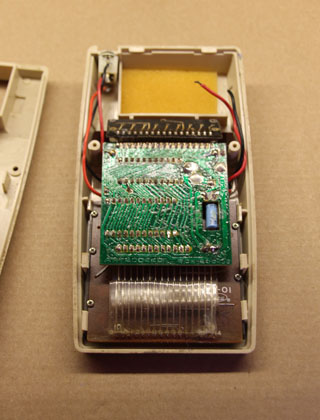
Ok then, out with the screwdriver to see what lies within:
Yes, during initial inspection I discovered several fine hairs that almost certainly originated from my long departed cat, Tom. Quite how they managed to work their way in I have no idea (one was actually under the display lens cover!)

Folding back the main (err, only) board to revealed the display, and the realisation that this wasn’t going to be the easy fixed I’d hoped, if possible at all.

It occurred to me that it wasn’t going to be a simple dry-joint re-soldering job. The individual digits in the display were multiplexed, so a simple bad connection between the display and the main board would’ve manifested itself as something like either a whole digit or the same segment in all digits being dead.
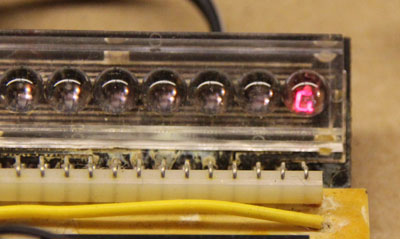
Prizing off the lens cover caused my heart to sink – the digits were absolutely tiny, and were connected to the PCB by wires finer than a human (and cat) hair:
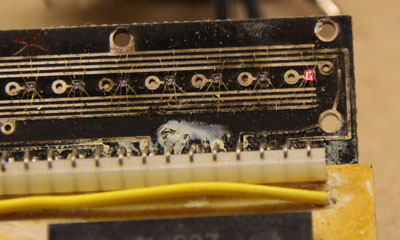 I quickly located the source of the problem – the track in the place where the dead segment was connected was very corroded:

Well, using a soldering iron was totally out of the question, so I called it a day and hoped a solution would present itself. I have a rule when it comes to faulty old tech, I call it the rule of Three ‘R’s: Repair, Repurpose, or Rubbish. I’d hate to have to junk the thing for such a simple defect. There had to be a way.
The answer came to me using technique I’ve honed over many years of mental training – I give in and go and do the washing-up/re-arrange the fridge/vacuum the lounge/etc.
Electrically conductive silver paint instead of solder turned out to be the answer, there’d be no heat and I could apply it with a fine point. If you’re in the UK then Maplin sell it (http://www.maplin.co.uk/p/electrically-conductive-silver-paint-n36ba) – its the same stuff that you use to repair broken tracks in heated rear car windows.
To be honest, applying it with a cocktail stick while wearing a pair of glasses plus double jeweller’s loupes wasn’t ideal and resulted in a blob across several tracks. Once it had dried I managed to scrape away the parts of the paint that would’ve caused unwanted shorts, and by some miracle it actually worked. I think it was just as much luck as judgement, but, hey, it all counts!


