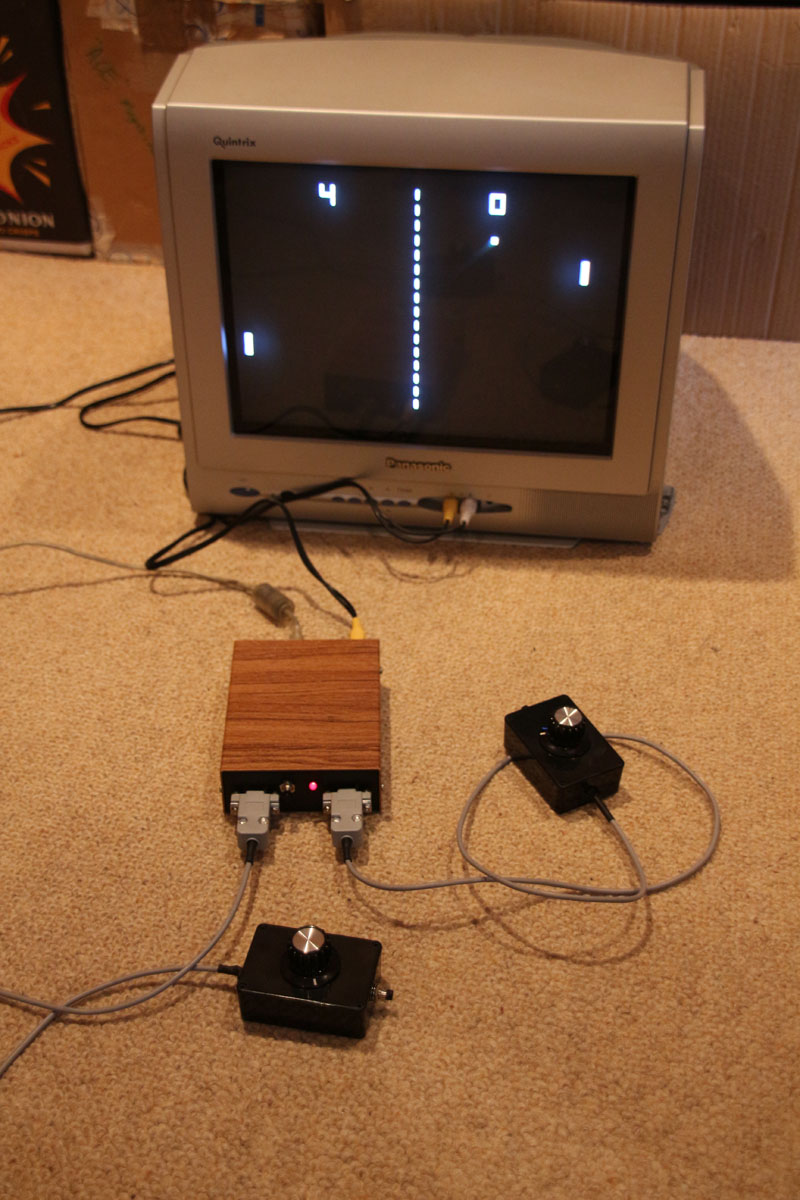
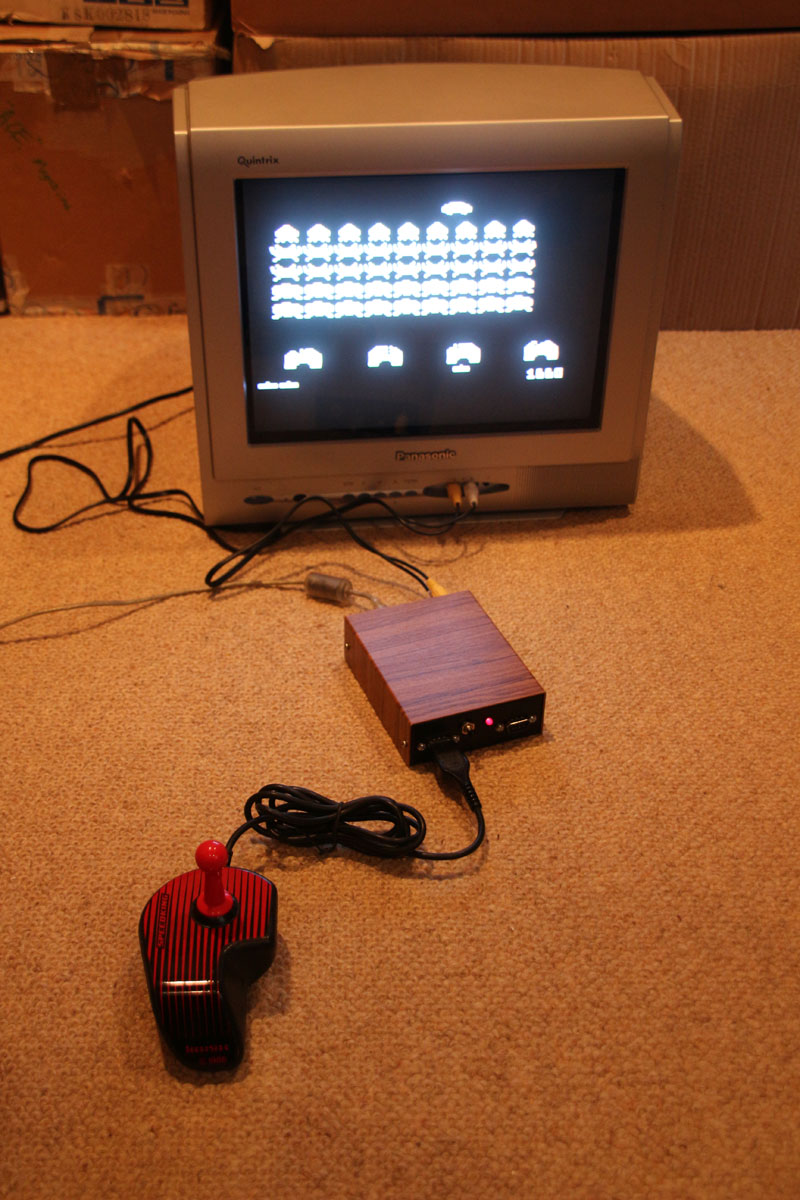
I always wanted to build my own games console, so I was pleased when I stumbled across the TVOut library for the Arduino. It enables many different types of Arduino to generate both video (PAL and NTSC) and audio signals using interrupts. One of the best things about the library is the minimal hardware that is required to implement it – just 2 resistors at its most basic.
Of course, I wasn’t surprised to find out that others had had the same idea, probably the best known of which is the Hackvision by nootropic design.
I wanted to build a system that allowed the external connection of 2 joystick or 2 paddle controllers, and the Hackvision *almost* meets these requirements; 2 paddles can be used, but it only allows for 1 joystick/d-pad. Now I could’ve just ignored the Hackvision, and built my own version, but the Hackvision has had some really good games written for it I wanted to be able to play. I needed a way to build something that could be used with 2 joysticks, but was still compatible with the Hackvision.
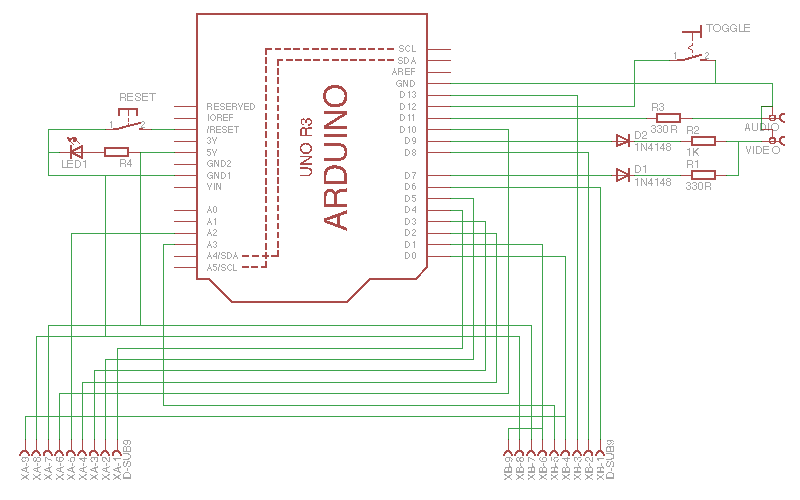
The Hackvision design does actually have unassigned IO pins, although not the 5 required to simply assign to the functions of a joystick. I found that I could *just* manage to connect everything if I reused pin D0 (which is used for the first paddle button) for a direction function on the second joystick, and used pin D1 for both the paddle button and joystick button on the second controllers (the first controllers use different pins for the paddle and joystick buttons).
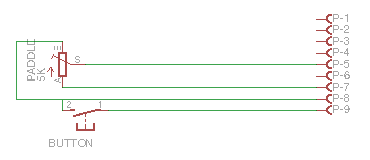
Confused?! The circuit and pinout should make things clearer:
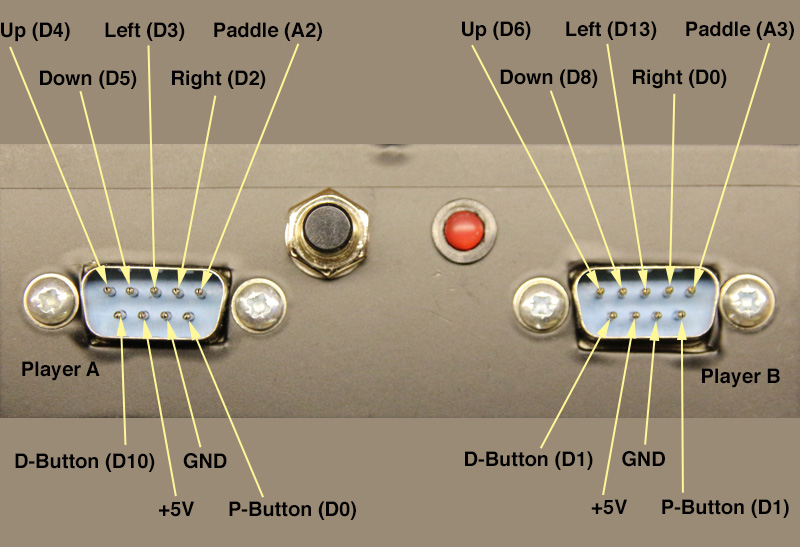
Sticking to the pinouts for Player A & B ports enables the use of classic joysticks with an “Atari” connector that were used throughout the 80s and 90s, and can still be sourced relatively easily on eBay, etc. If you really insist on making your own, then this is the circuit:
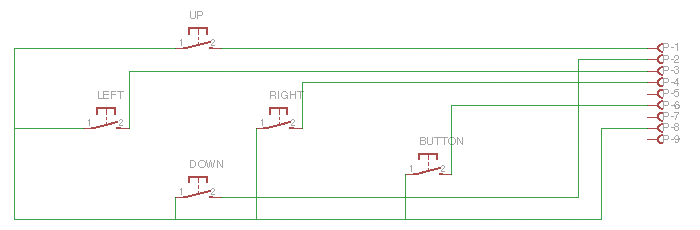
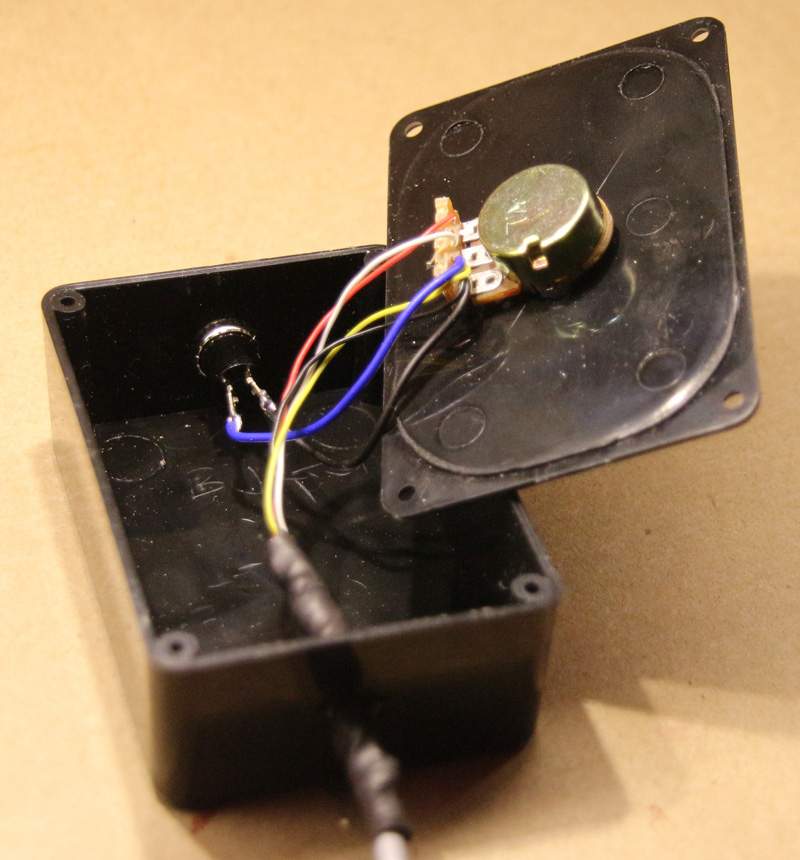
I’m afraid you’ll have to make your own paddle controllers, but they’re pretty simple:
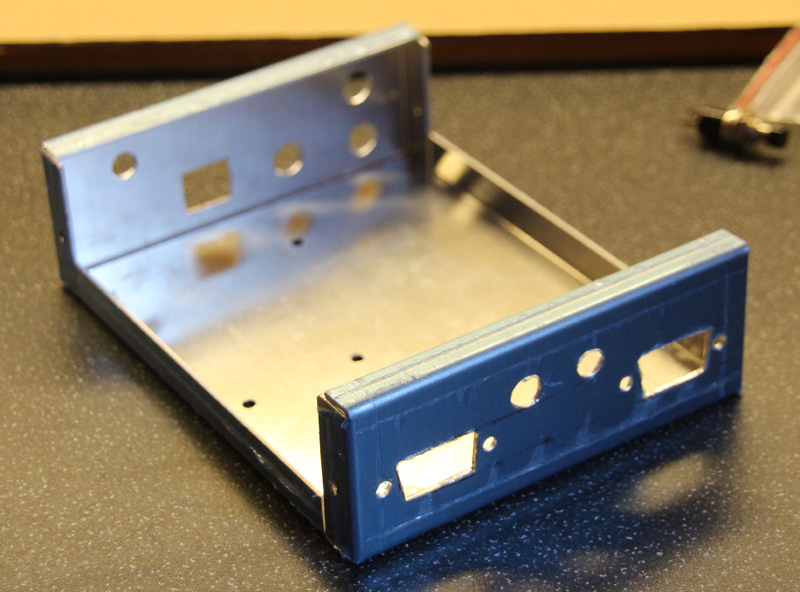
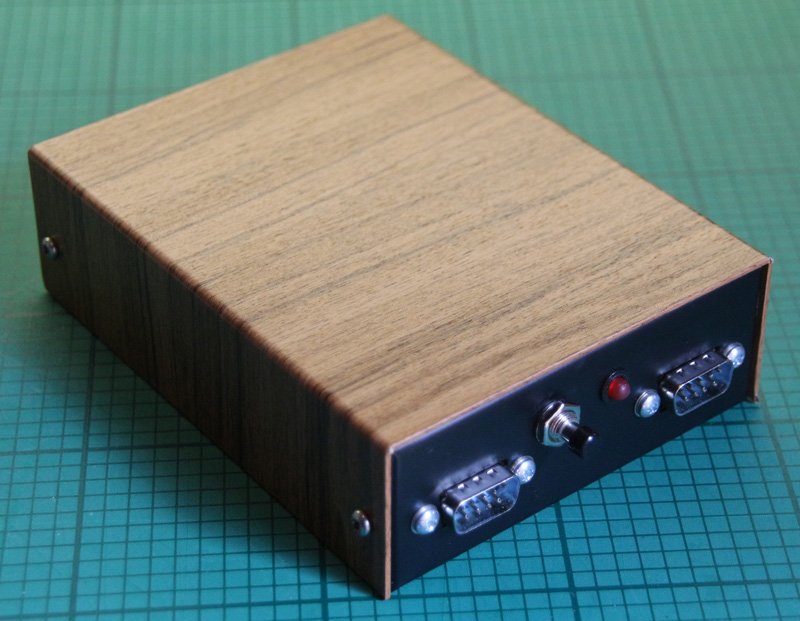
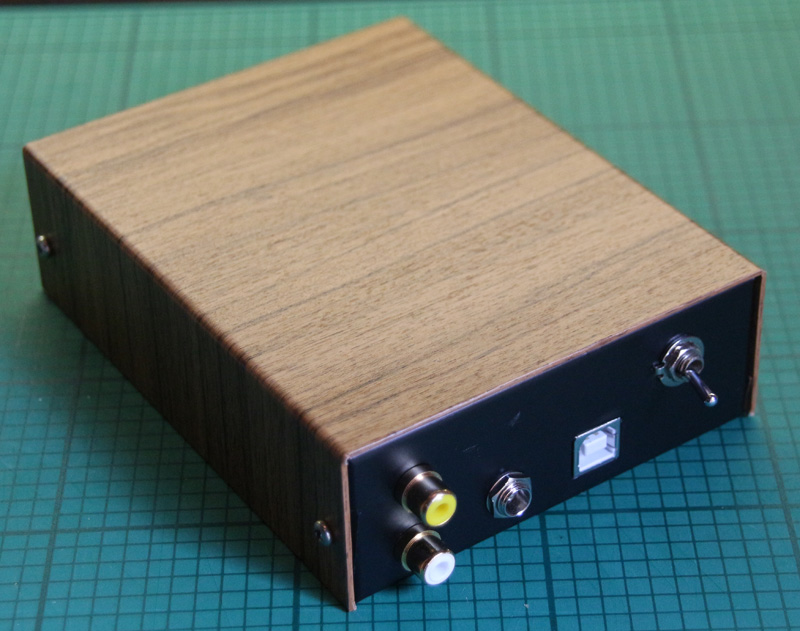
Housing a project in an enclosure is always more complicated and time consuming that you anticipate. I happened to have an aluminium project box in my parts-bin:
Sticky-backed plastic (Fablon) gives a good exterior finish, and is far-less hassle than painting:

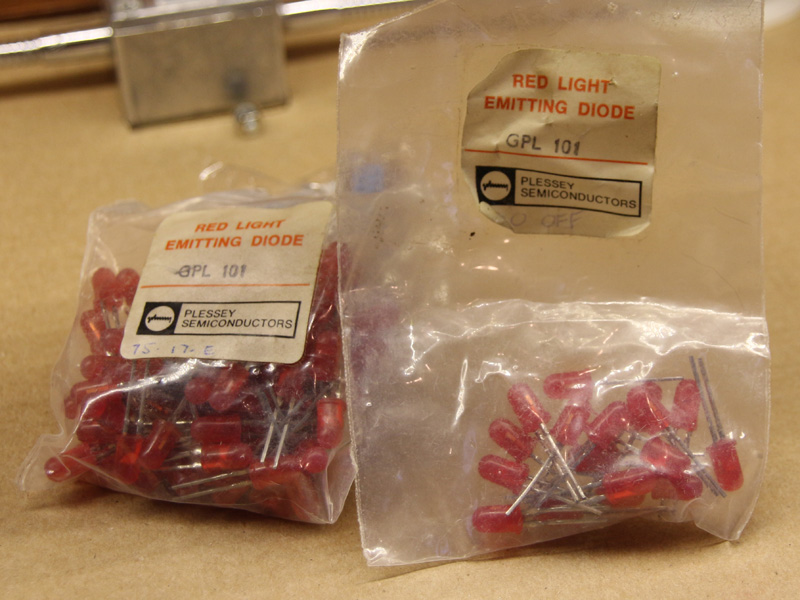
My grandfather used to work for Plessey back in the 70s – these LEDs found their way into his workshop…
Woodgrain Fablon for the authentic ‘retro’ look:
I intend to write a library for the console, however I’ll have to do that at a later date. Since upgrading my Mac to OSX ‘El Capitan’, the Arduino IDE is refusing to upload anything to any of my Arduinos. I’ll get around to it when I get it fixed.

